Users love to use our sandwich overlays. Sandwich overlays
provide a unique capability to green screen for photographers. Green Screen
Wizard sells many sandwich overlay collections.
Many users have asked whether not they can create their own
sandwich overlays. It is an easy process but there are some things that you
must be made aware of. You have to create PNG files and they should be created
in a 5 x 7 or 8 x 10 format. There are some naming conventions that you must
adhere to.
The following presentation is a detailed step-by-step Explanation
of how to create your own sandwich overlays.
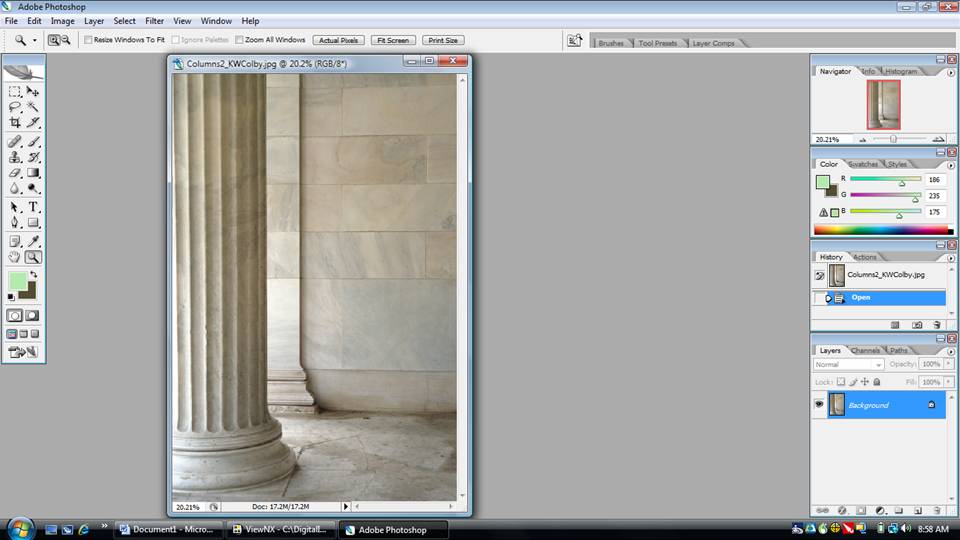
We start the process by loading an image that we like to
turn into a sandwich overlay. If wanted to do a magazine cover then you would
start with a blank sheet and add text.
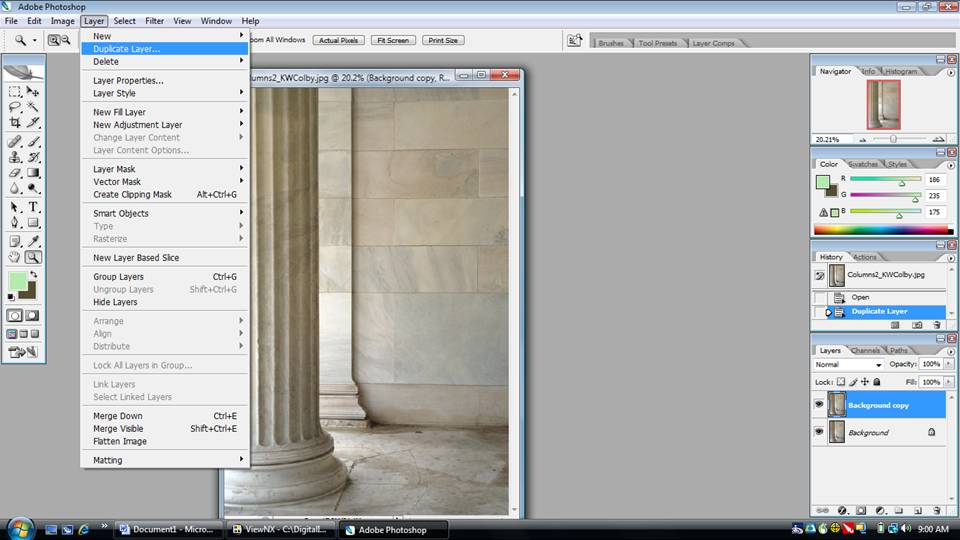
The first step is to duplicate the layer. You do this by
going to the layers menu and select ,you guessed it, duplicate layer. This will
create an exact copy of your original photo. If you look at the lower right
corner of the screen you will see two images one labeled background and the
other labeled background copy. In Photoshop this is called layering if you
erase �something in the top image you see the image below it.
The way a sandwich overlay works is that there is an image
that forms a frame and sits on top of the green screen image and a second matching
image that goes underneath the green screen image. Obviously for this to work
there needs to be a transparent area in this upper frame or you would never see
anything of your image. So what we need to do is erase part of the top or
foreground image.
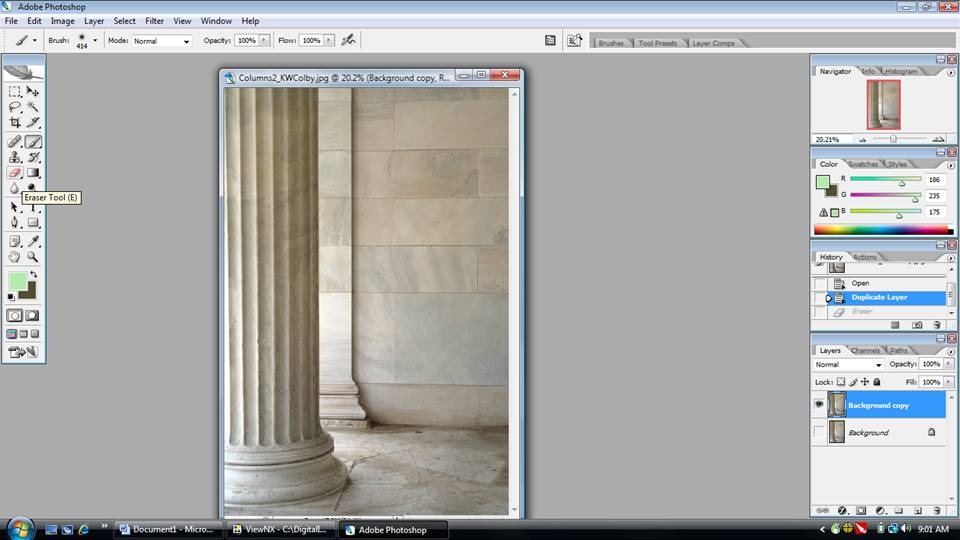
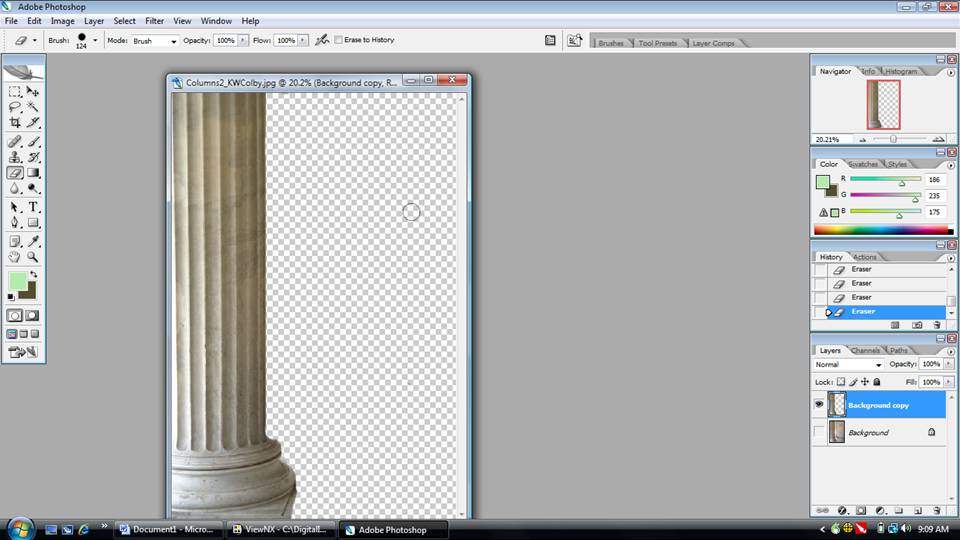
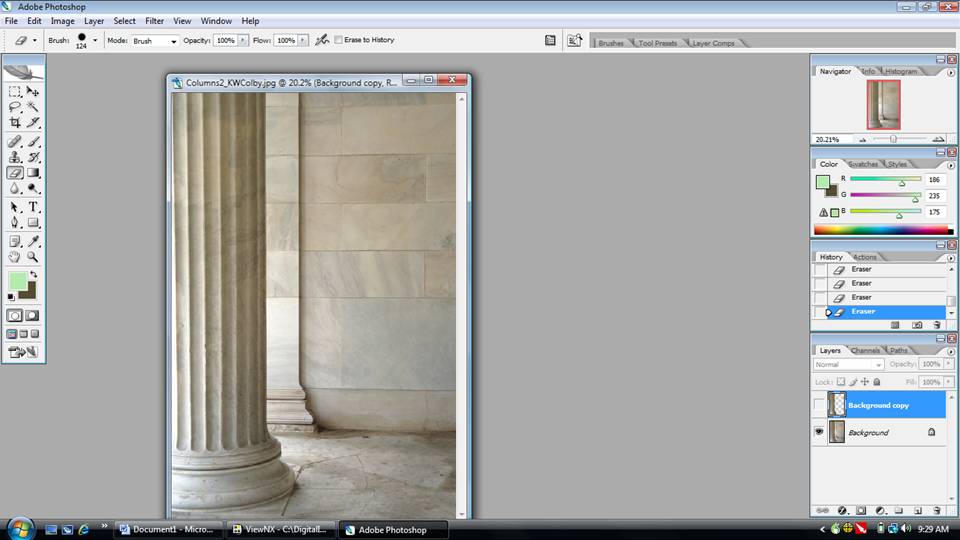
This is done by selecting the eraser tool from the menu on
the left. And if you look to the lower right-hand corner of the screen you'll
see that I unchecked the visibility of the background. If we do this than as we
erase we will not see the image below us but we will see a checkerboard
pattern.
Here we see the checkerboard pattern created by erasing the
image.
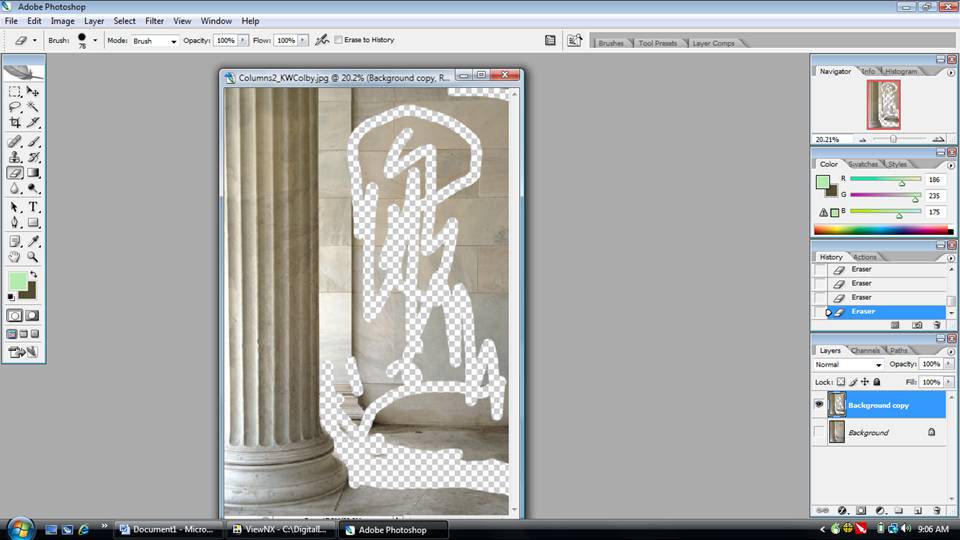
We continue this process until the areas that we would like
to be transparent in the foreground image are completely erased.
At this point we are finished with our sandwich overlay but
we need to save it. We do this by selecting the save as option of Photoshop.
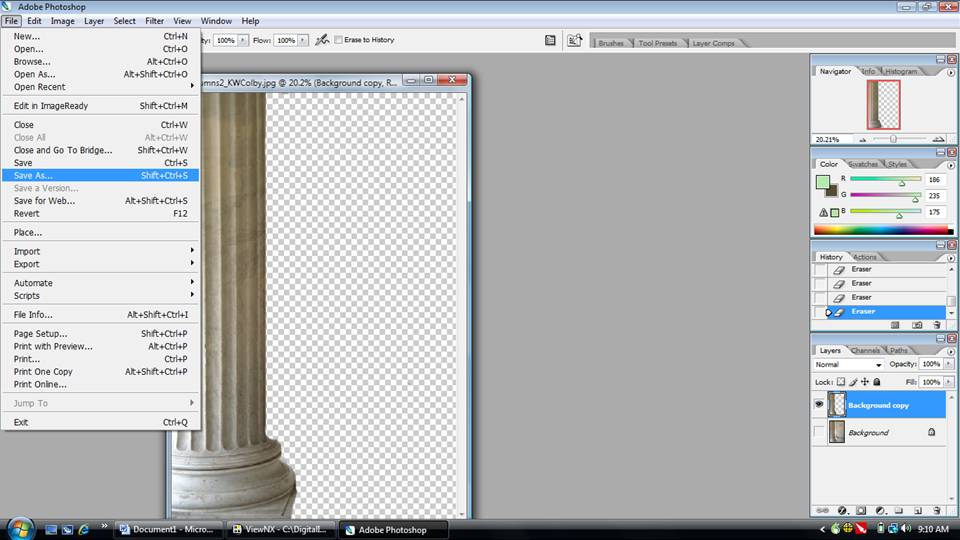
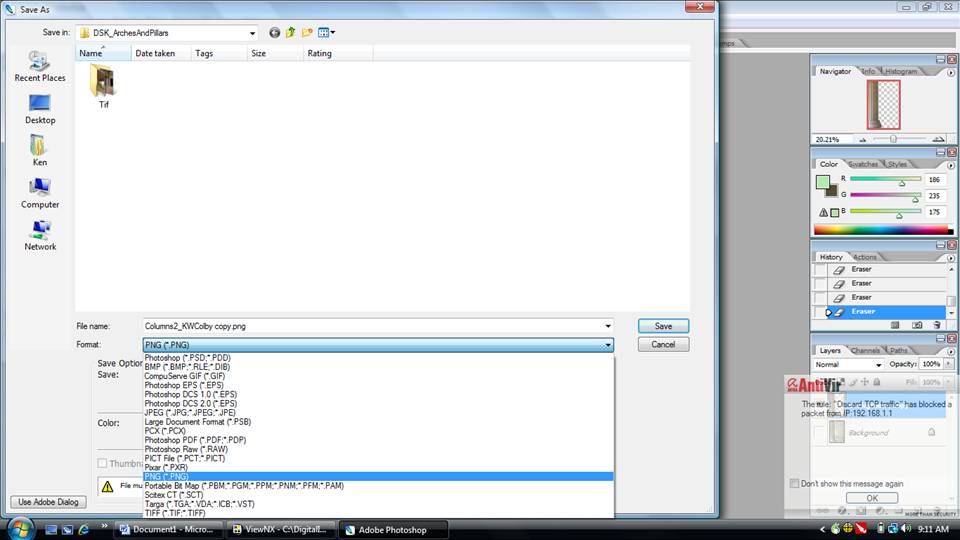
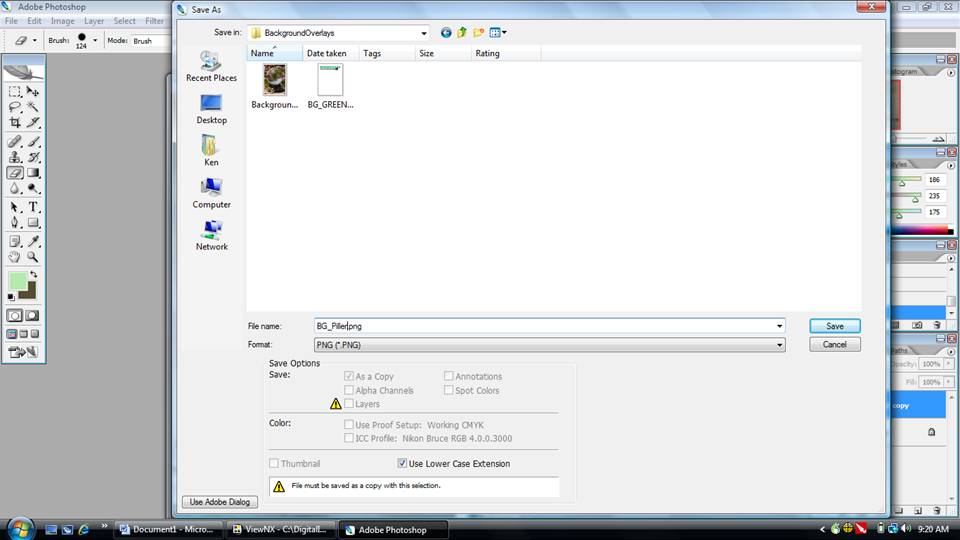
The save as option of Photoshop will bring up the following
dialogue. The first thing we need to do is we need to tell Photoshop that this
is a PNG file. We do this by selecting the format as shown below.
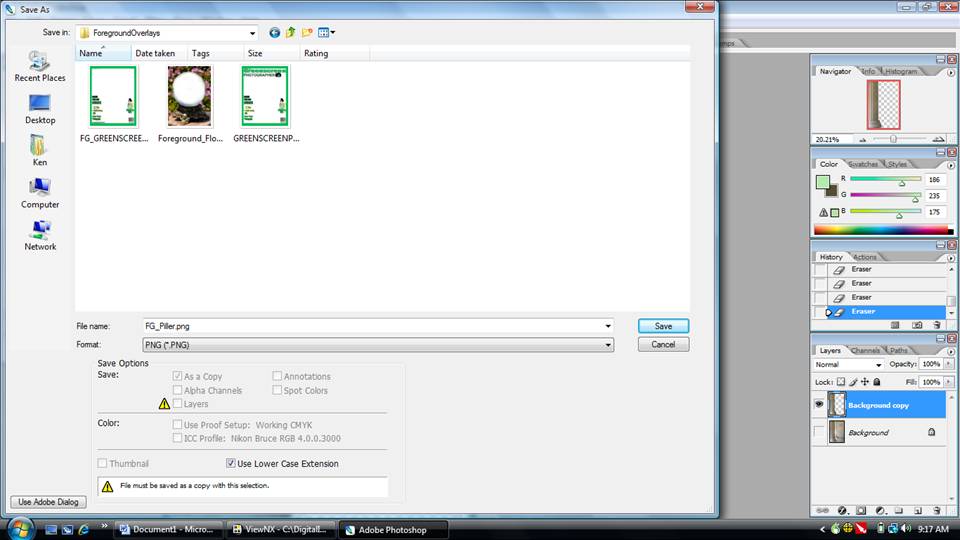
The next thing we have to do is we have to rename the file
and save it to the correct directory. The foreground image that contains a
transparent area is stored in the foreground overlays folder underneath GreenScreenWizard
Pro. The name given to the file is important. It must start with the letters
FG_and then the filename. So in this example we will be saving our pillar.PNG
with the names FG_piller.png in the foreground overlays folder.
The reason for the naming convention is when a user picks
the foreground file system checks to see if it has a matching background file.
This saves the user from typing two file names to load sandwich overlay.
(
Important note: on Windows Vista is forbidden to
directly store into the foreground folder. You may have to save the image to a
different folder that is not protected and then copy the image into the
foreground folder)
Now we need to store the background image. Look in the lower
right-hand of the screen you'll see that we made the foreground image invisible
and the background image visible. We use the file save as to save the image.
We need to store this image in the background overlays
folder. The name that we use must start with the letters BG_and have the exact
same name as the foreground image that we stored.
Now we close Photoshop and open GreenScreenWizard.
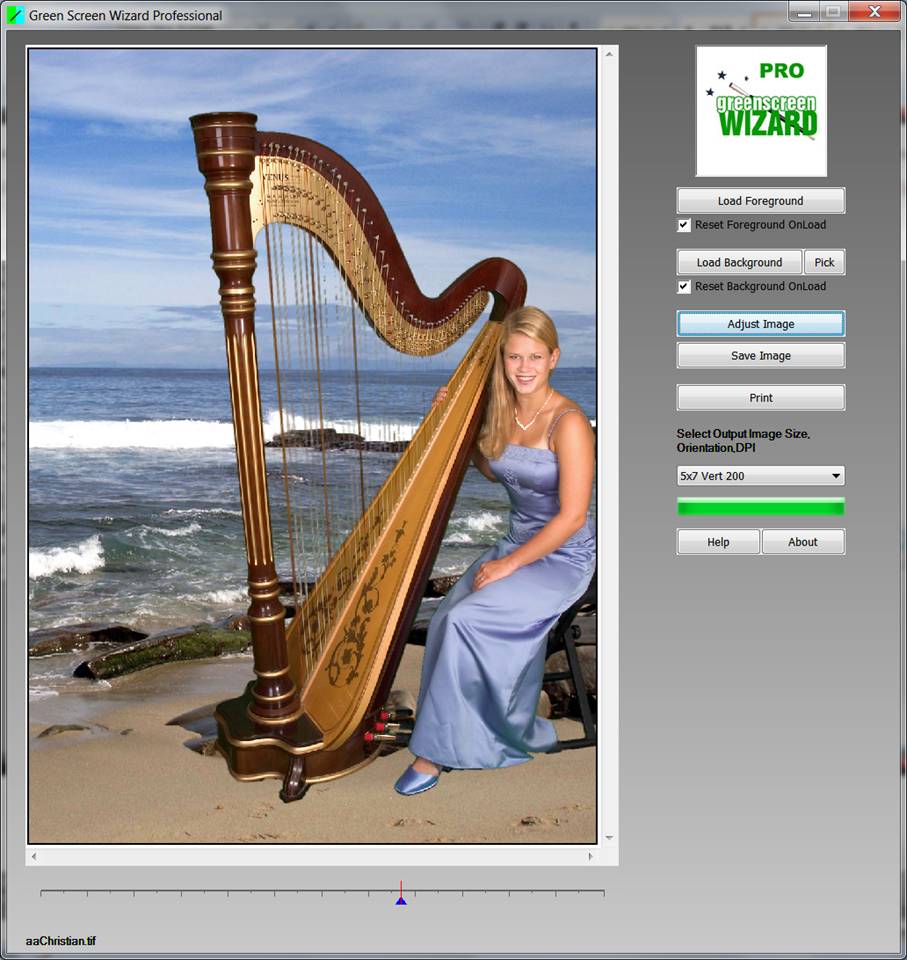
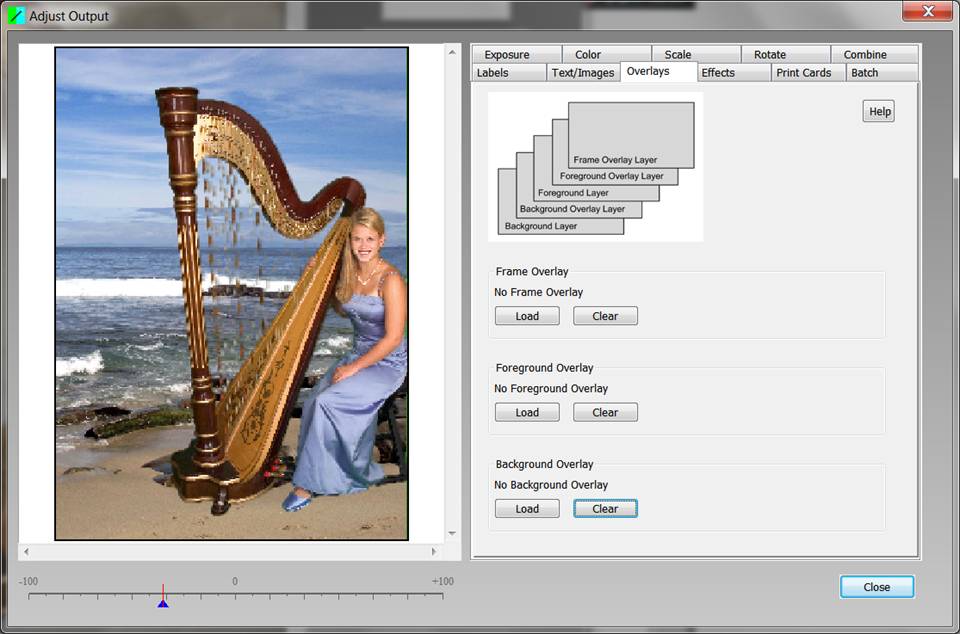
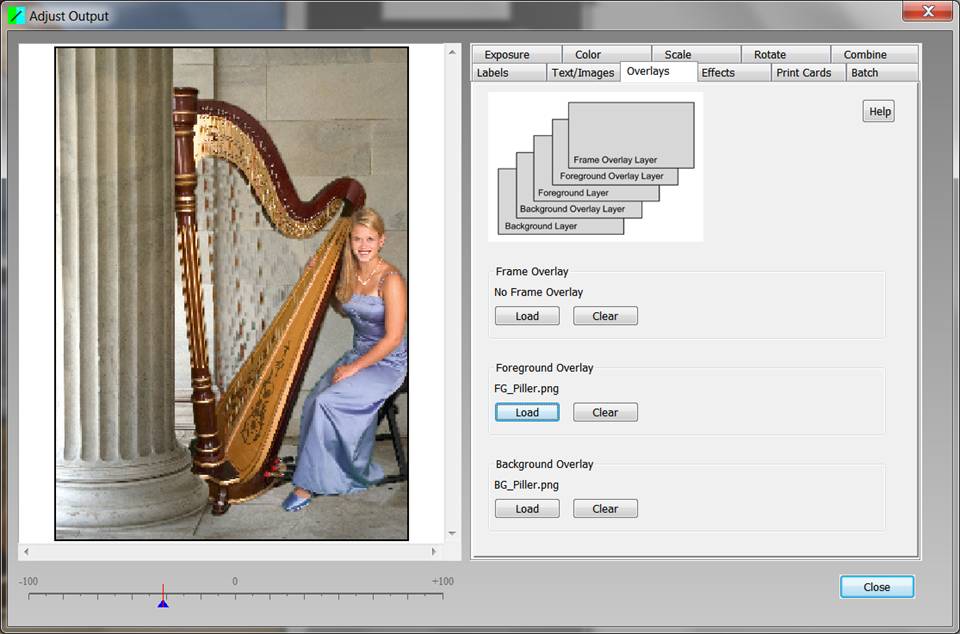
We click the adjust button and that brings up the adjust
dialogue shown below. We then select overlays from the tab control. And now we
want to load the foreground so we click below to foreground button.
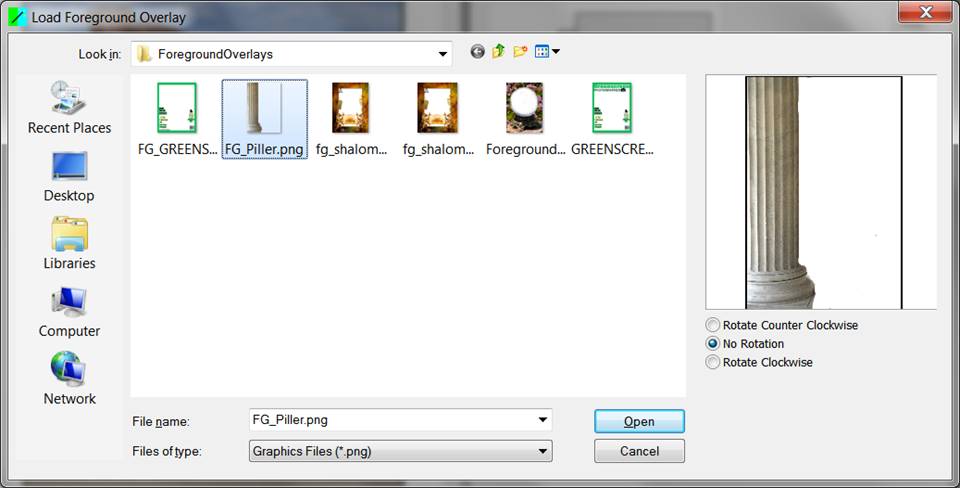
The load foreground will bring up the file dialog box. We
select FG_Piller.PNG file that we saved into the foreground overlays folder.
When we returned we will see that the foreground overlay now
indicates FG_Piller.PNG in addition the background overlay is set to
BG_Piller.PNG.
This automation is possible because we named both files
exactly the same with the exception of the FG_and BG_ prefixes.
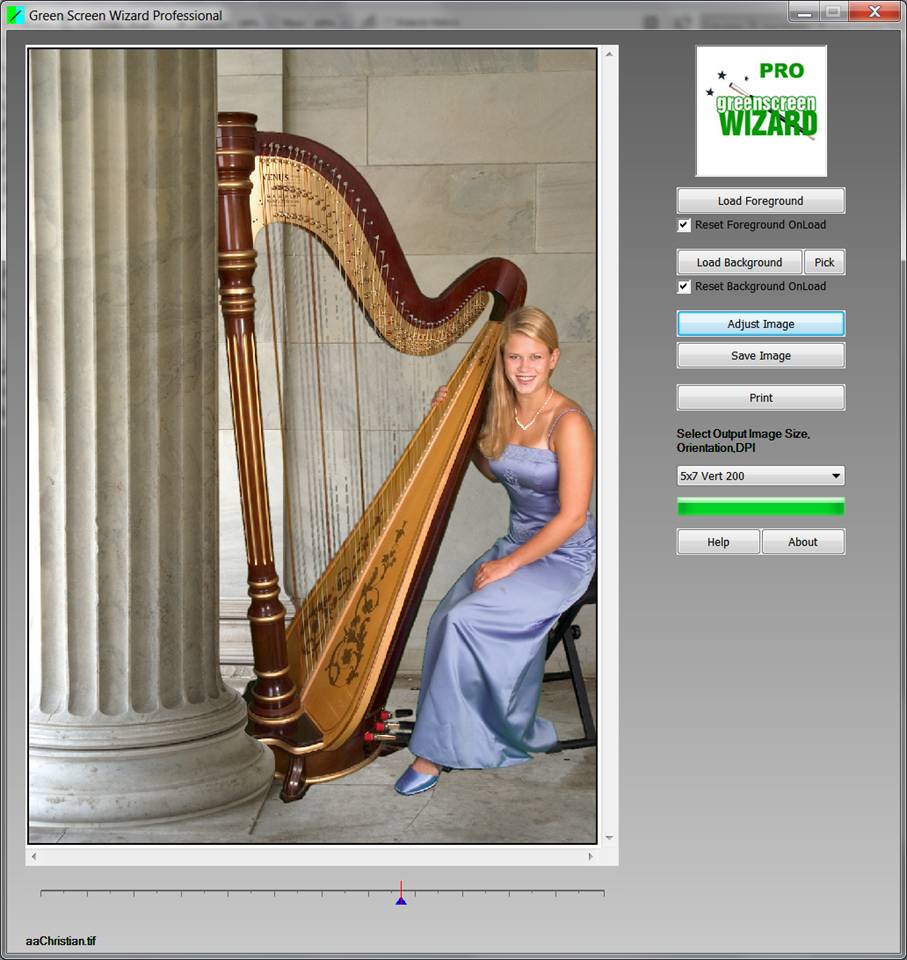
We then close the adjust dialogue and a final image is shown
in high-resolution.
So that is how you creative sandwich overlay. If you'd like
to create a magazine cover we use the exact same procedure with the
exact same naming conventions however you don't start with an image you merely
add the text of the foreground image and text of the background image that
you'd like to be in the magazine cover.